Setting up your printer MacBook Sonoma and above, WiFi printing.
Step-by-step guide
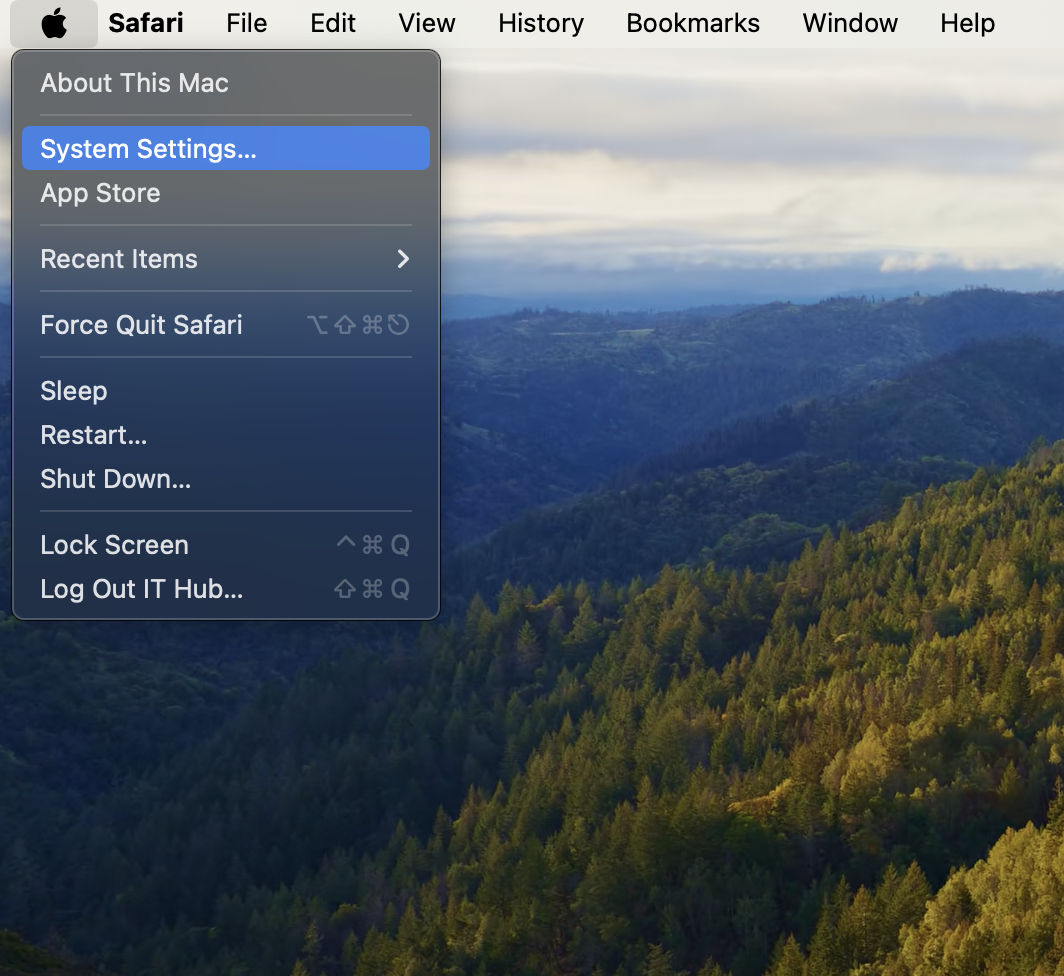
- Select Apple Icon to the top left and select System Settings.
- Scroll down on the left side to Printers & Scanners and select it.
Then select Add Printer, Scanner or Fax Tab.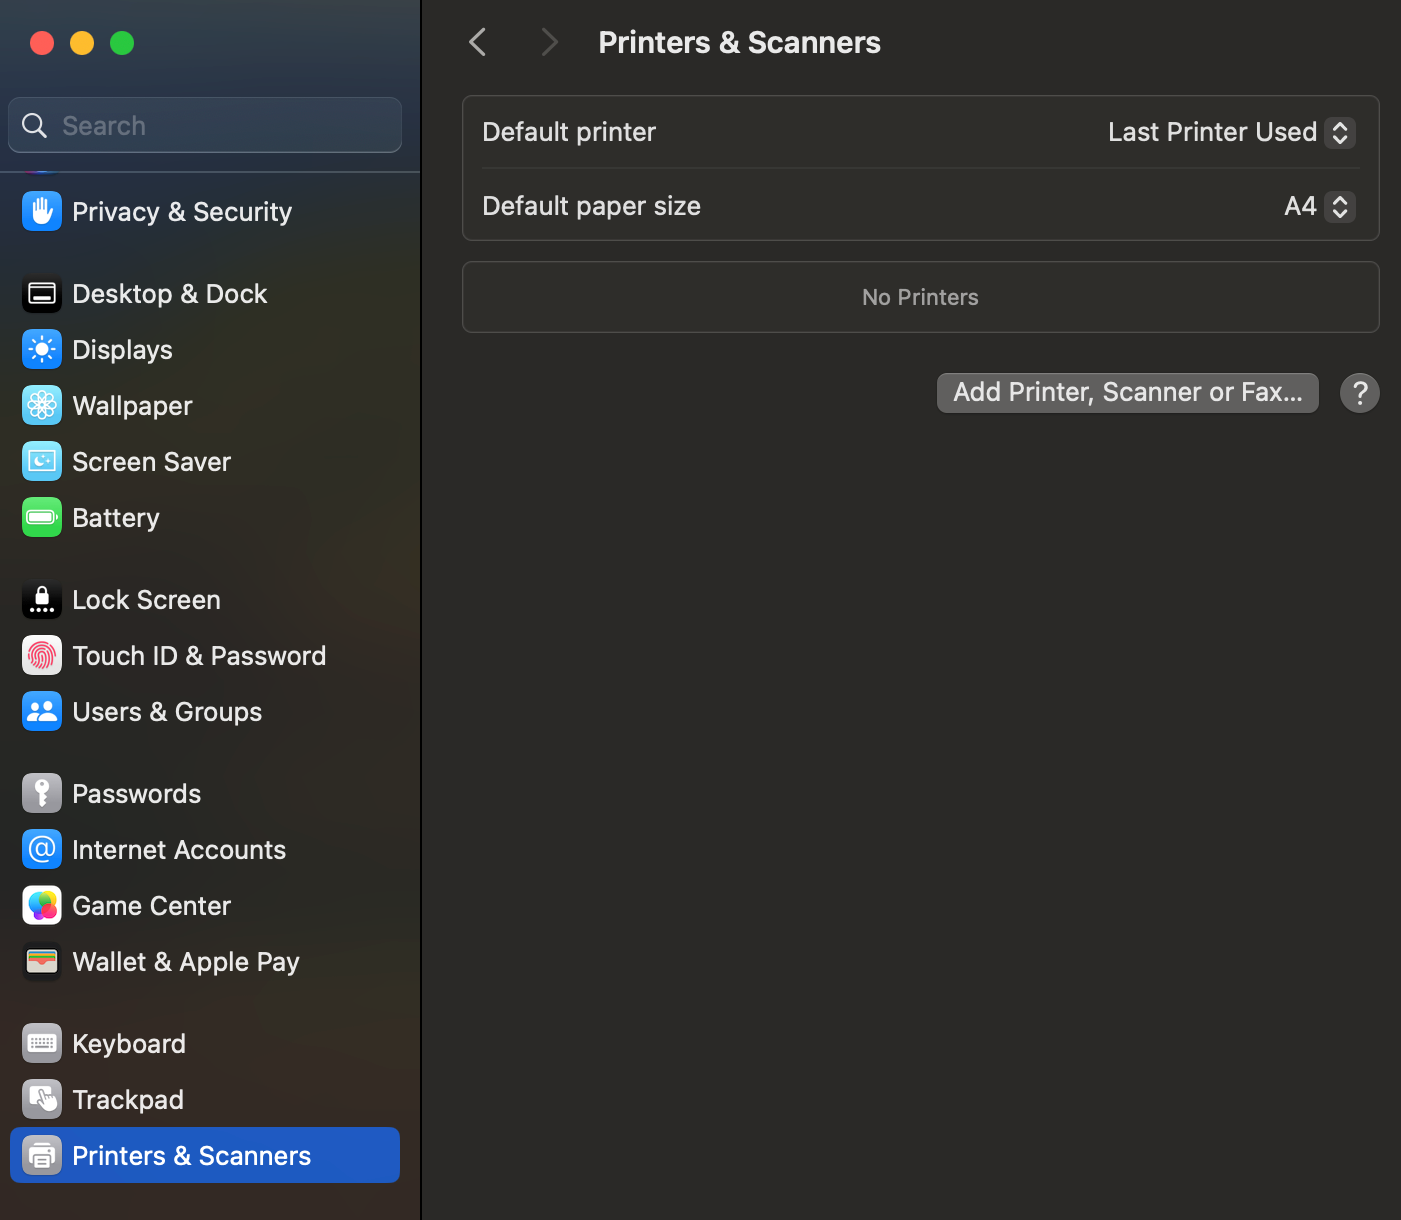
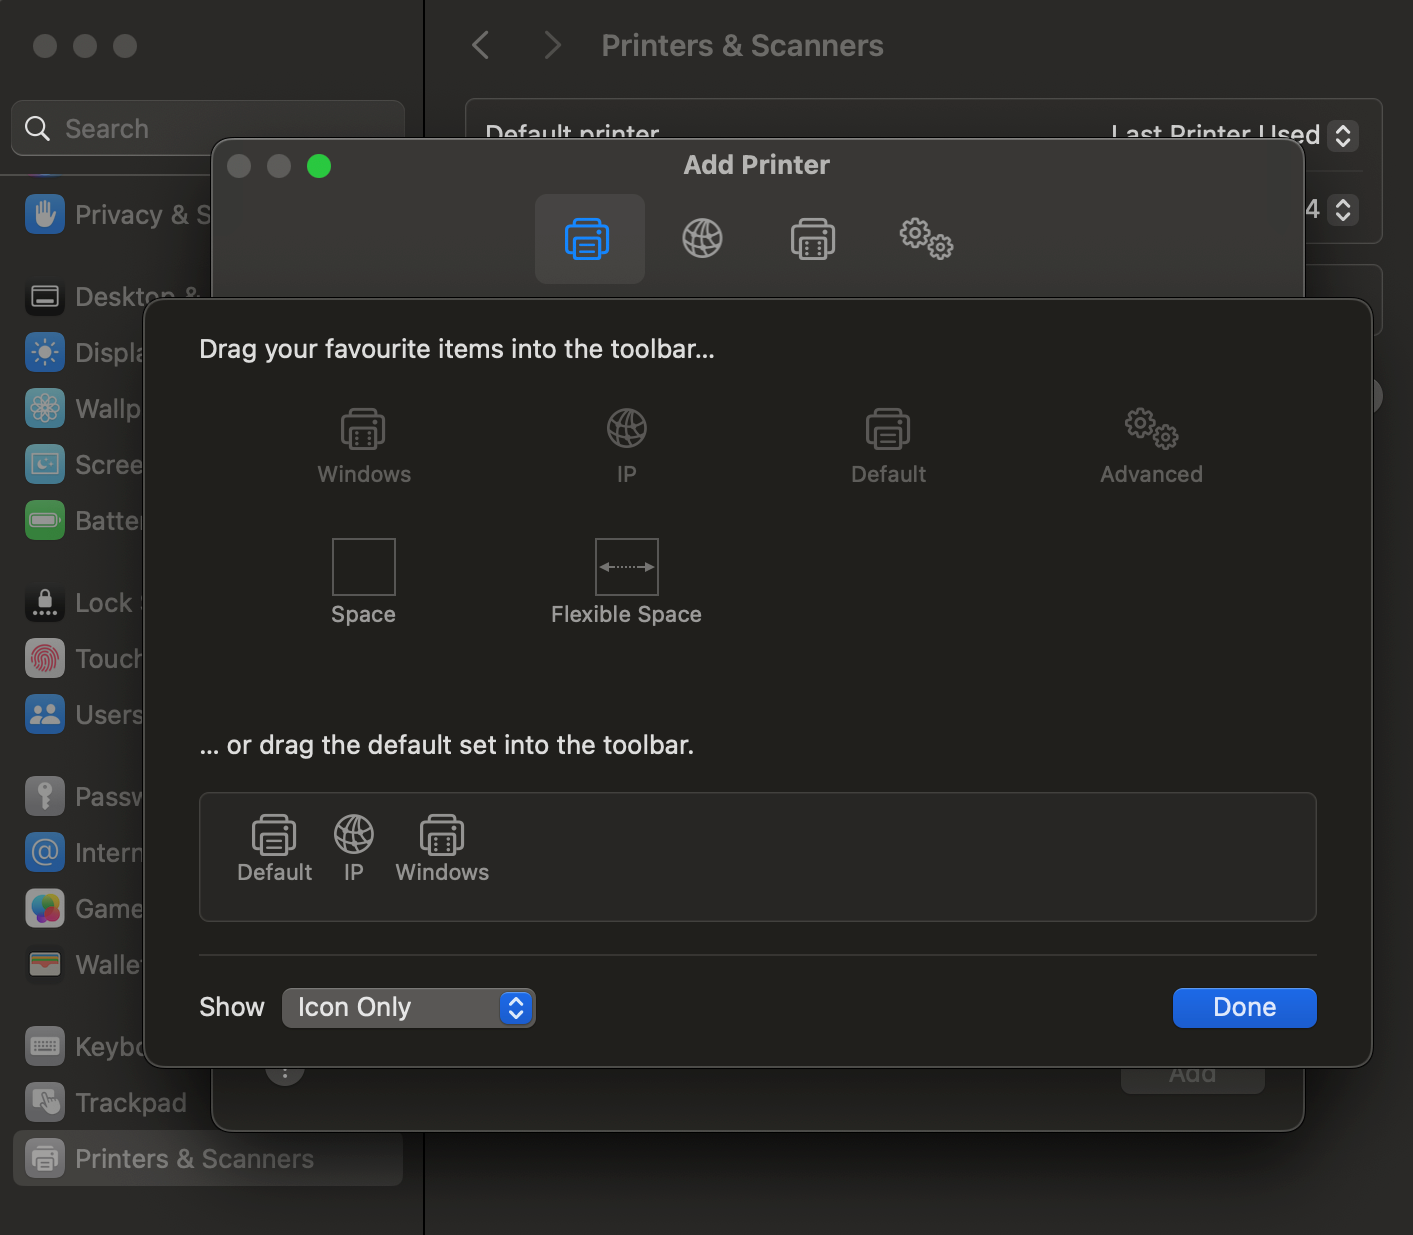
- If there is no advanced icon available, do the following:
On your keyboard hold command + right-click to get toolbar option.
Navigate to Customize Toolbar...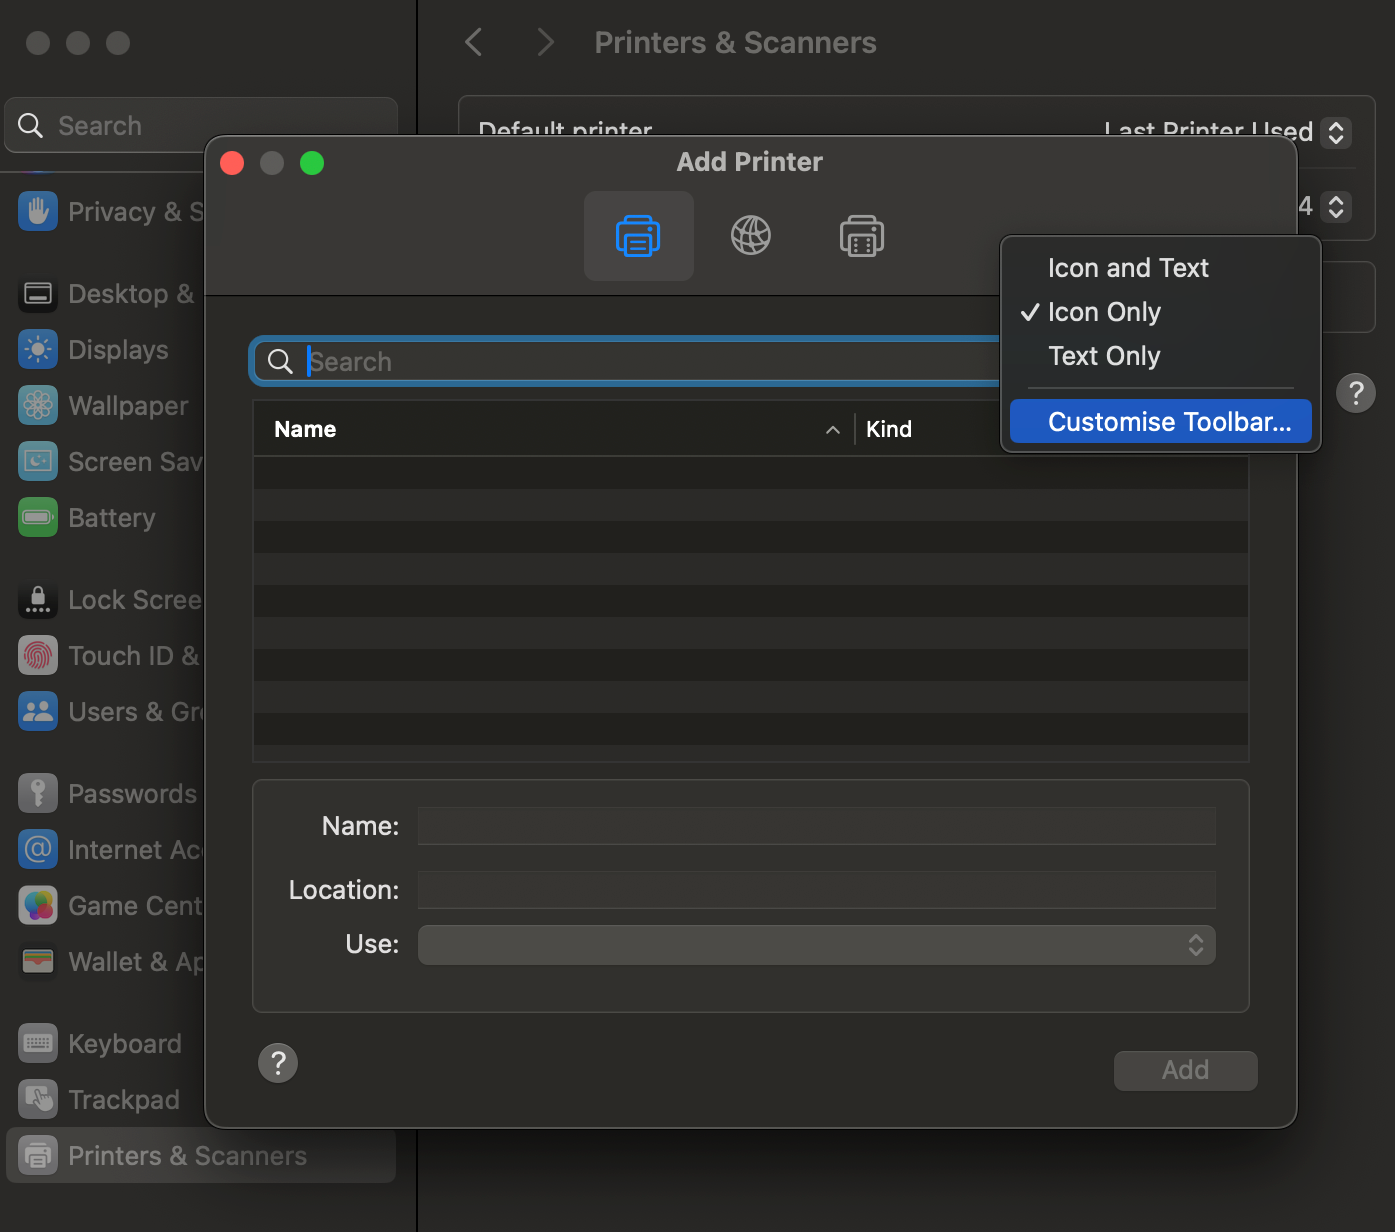
- Click and drag the advanced icon from the list given to the menu and select Done.
- In the Type section, choose Windows printer via spools.
In the URL section, enter one of the following (see list):Staff ‐ //stbsc01.stb.sun.ac.za/STB_PRINT_Q01
FHARGA ‐ //stbsc02.stb.sun.ac.za/STB_PRINT_Q01
NARGA //stbsc03.stb.sun.ac.za/STB_PRINT_Q01
HUMARGA ‐ //stbsc04.stb.sun.ac.za/STB_PRINT_Q01
FIRGA, Library ‐ //stbsc05.stb.sun.ac.za/STB_PRINT_Q01
Ensure that the printer Name is set to STB SecurePrint.
In the Use section, choose Generic PCL Printer.
Then click Add.
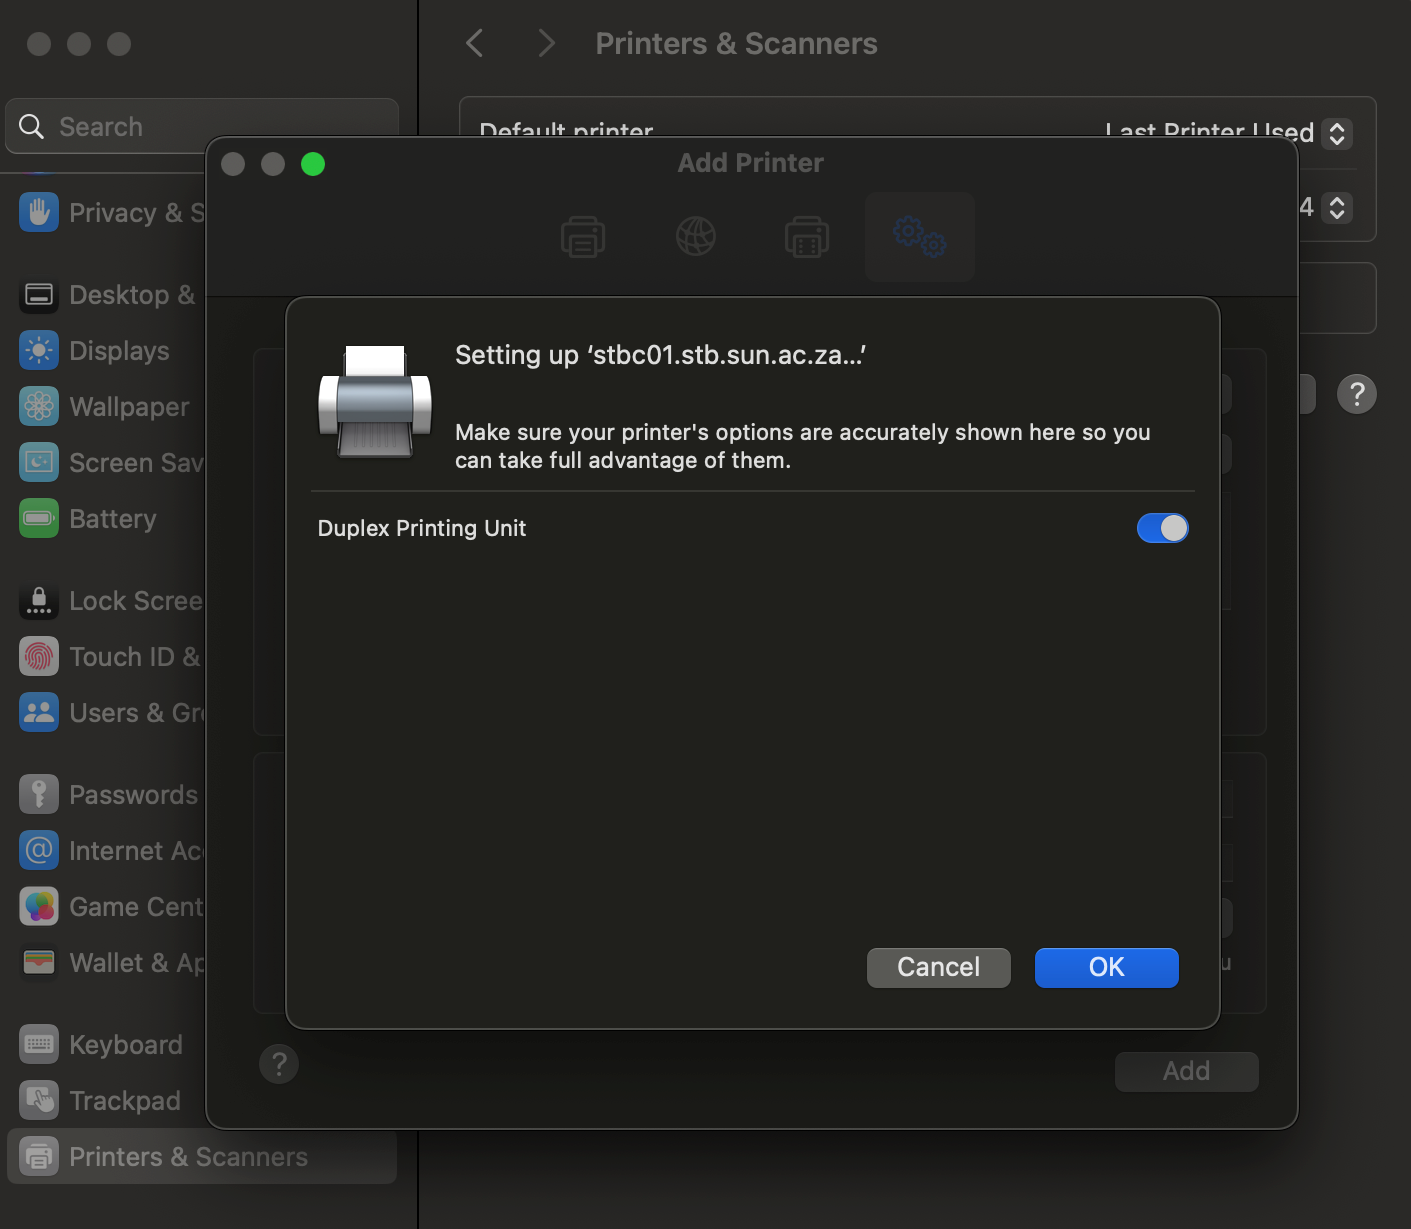
- Select Duplex Printing Unit and click OK.
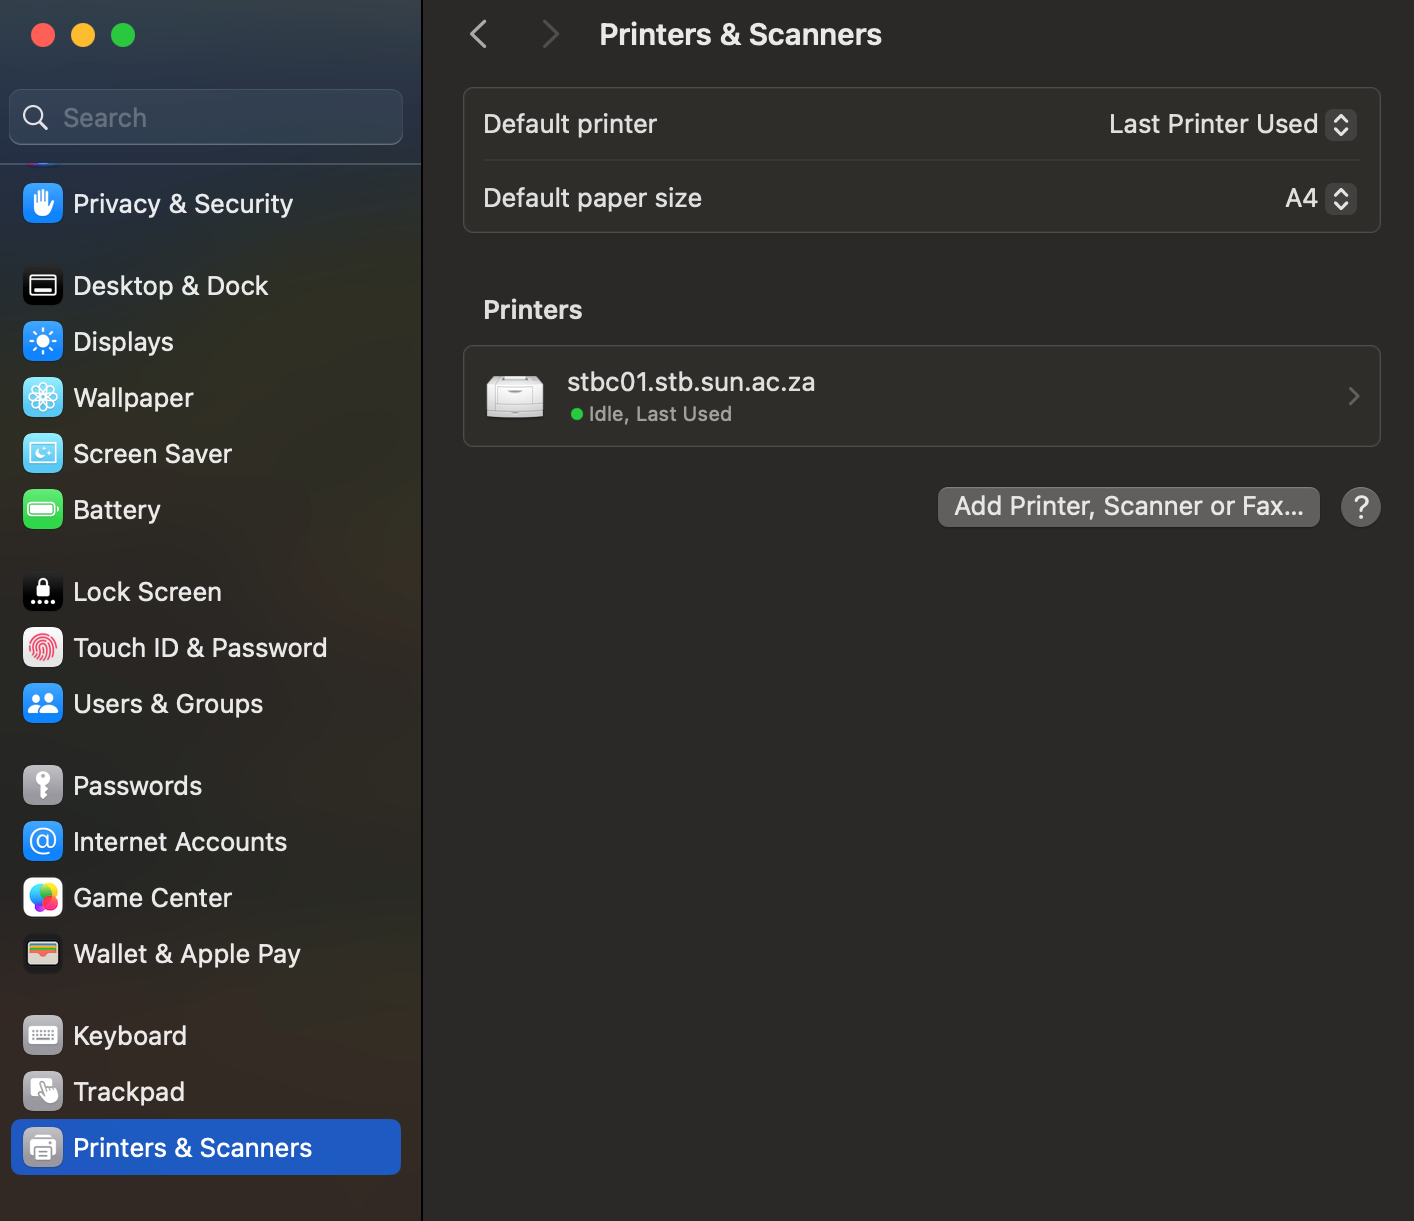
- The printer should be in your printer list:
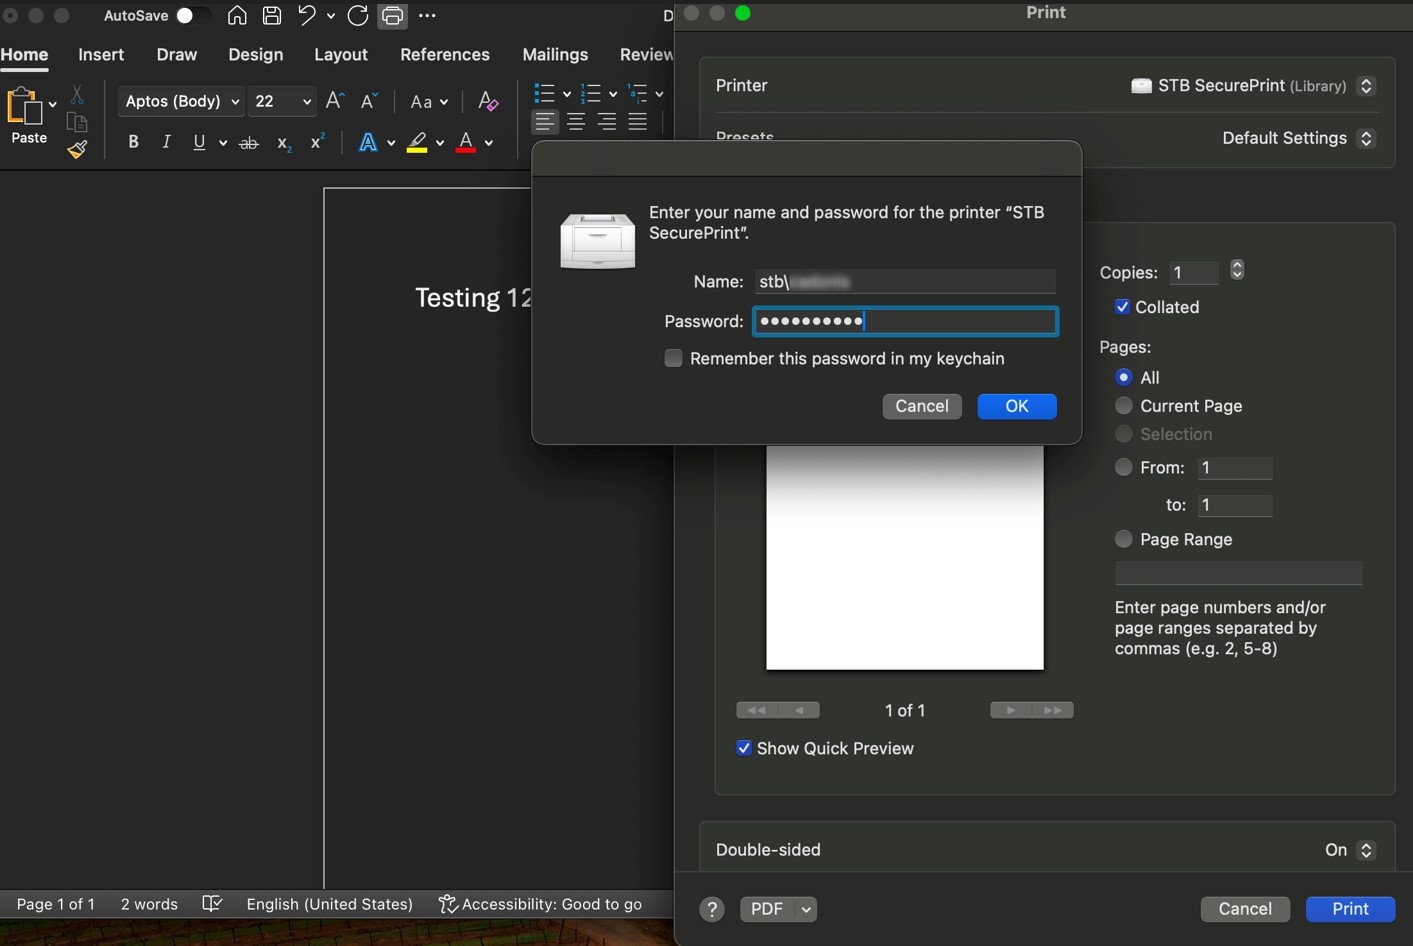
- Open any document and select the Print Icon and click.
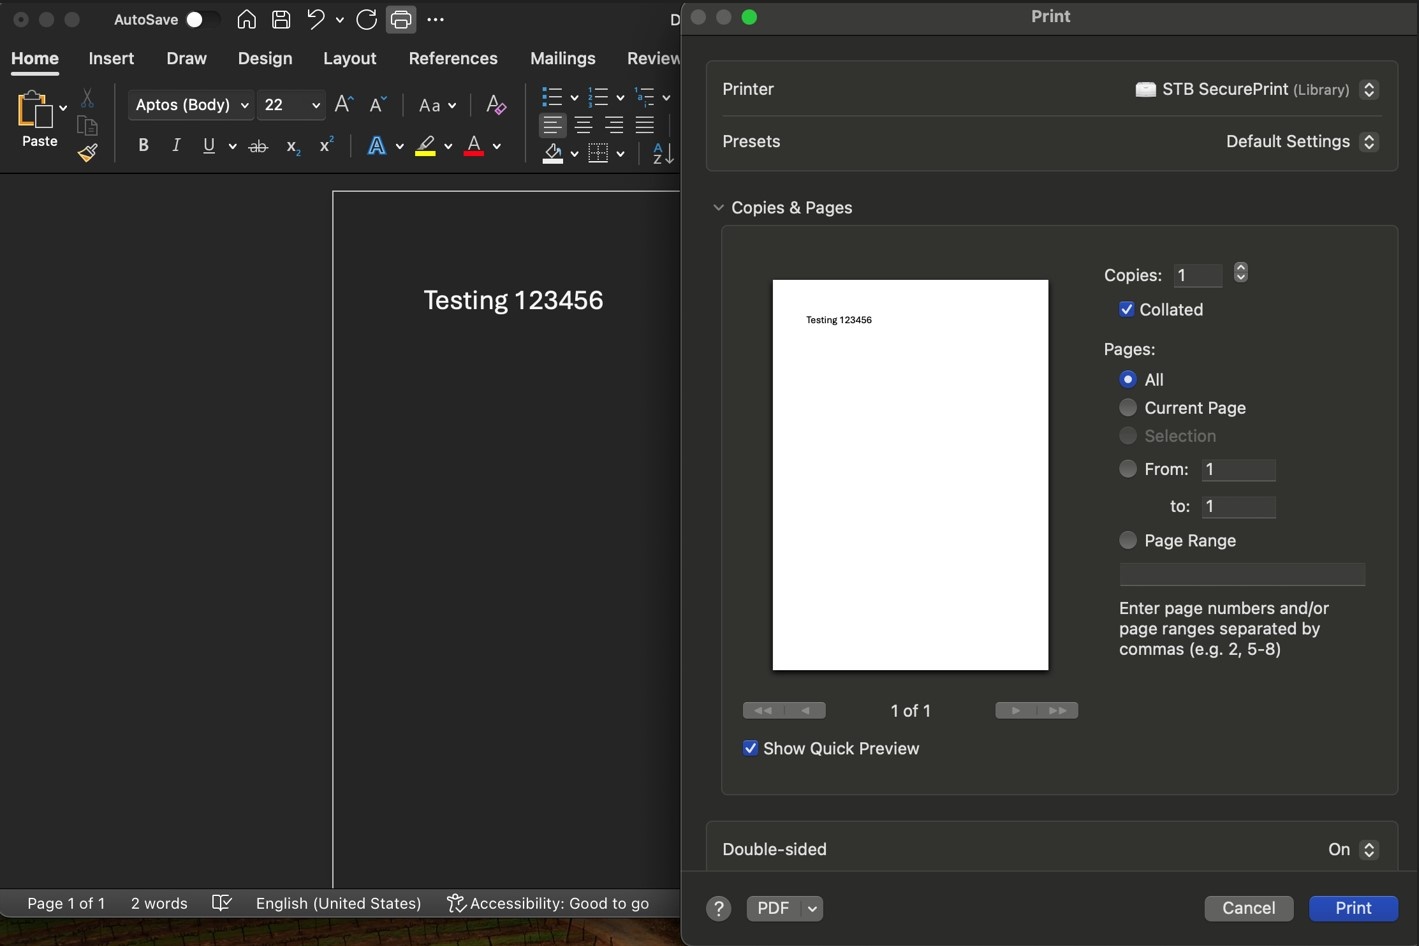
- In the name section enter your Name: stb\username and Password: **********
Document will now be sent to printer.