
...
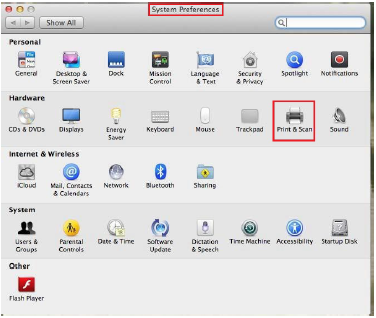
- Open System Preference and click on Print and Scan

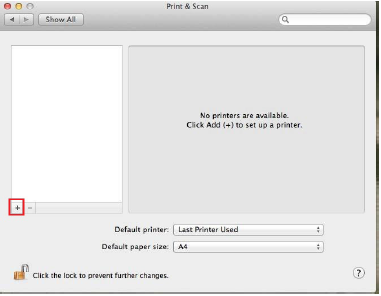
- Click on the + icon
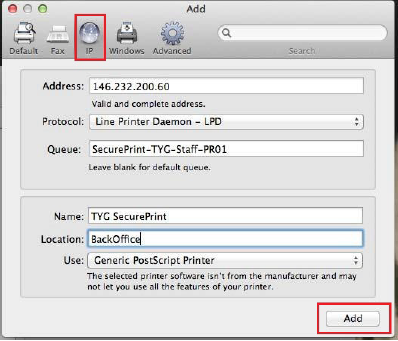
- Click on the IP tab


- Fill in the details for either STB Secure Print or TYG Secure Print STB
- TYG Secure Print Queue Configuration, then Click Add

Staff ‐ //stbsc01.stb.sun.ac.za/STB_PRINT_Q01
NARGA – ‐ //stbsc03.stb.sun.ac.za/STB_PRINT_Q01
HUMARGA‐‐ //stbsc04.stb.sun.ac.za/STB_PRINT_Q01
FIRGA, Biblioteek ‐ ‐ //stbsc05.stb.sun.ac.za/STB_PRINT_Q01
FHARGA – ‐ //stbsc02.stb.sun.ac.za/STB_PRINT_Q01
TYG Secure Print Queue Configuration, then click Add

- Select Duplex Printing and Click OK


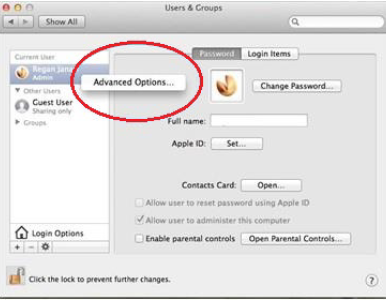
- Navigate and click on Users & Groups
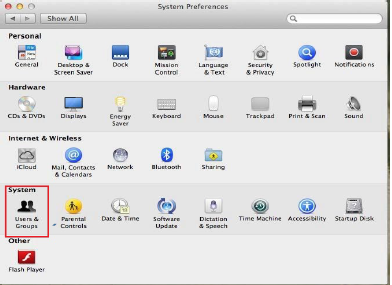
- Right click on the current user and click on Advanced Options
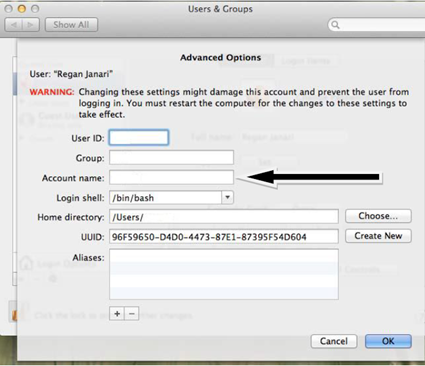
Change Account Name to your Student Number/ Alias name.
Please DO NOT MAKE any other changes here, only change account name to your student number/alias.
| Info |
|---|
|
...