
This install guide will work for previous versions of Windows as well.
Step-by-step guide
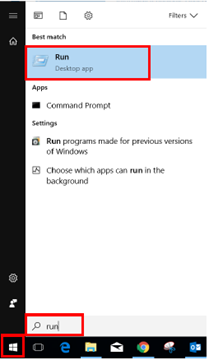
- Click on the Windows icon
- In the search bar, type run
- Select Run (Desktop app)
- In the dialog box, type in the printer you would like to setup (As indicated in the list below)
Staff - \\stbsc01.stb.sun.ac.za\STB_PRINT_Q01
FHARGA – - \\stbsc02.stb.sun.ac.za\STB_PRINT_Q01
NARGA – - \\stbsc03.stb.sun.ac.za\STB_PRINT_Q01
HUMARGA-- \\stbsc04.stb.sun.ac.za\STB_PRINT_Q01
FIRGA, Biblioteek - - \\stbsc05.stb.sun.ac.za\STB_PRINT_Q01
This indicate that the printer is busy installing.
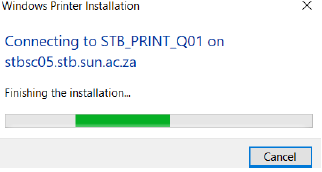
- When the printer is successfully install, this screen should pop-up.
To test if the printer successfully prints, follow the instructions below:
Click on the windows icon and go to settings.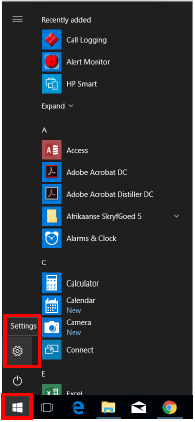
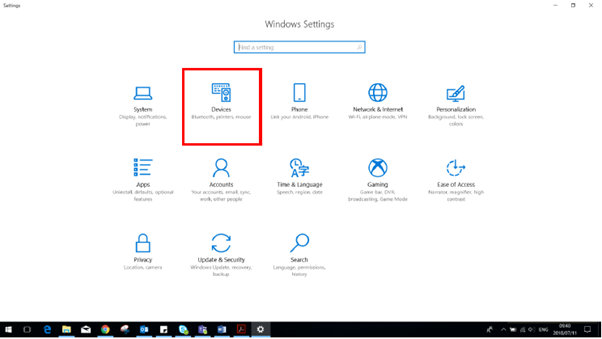
- Click on DEVICES.
- Click on Printers & Scanners, the list of printers should then appear
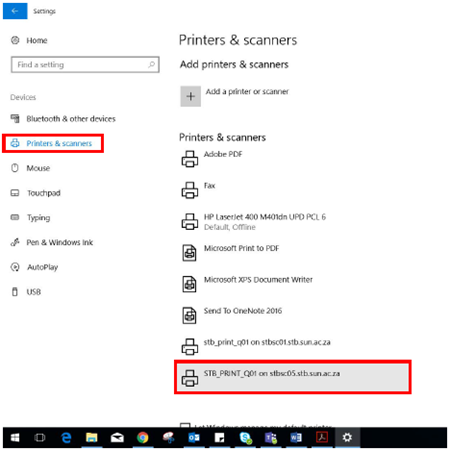
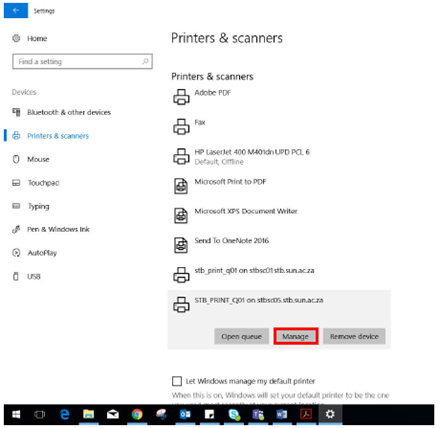
- Click on the printer you installed, then click on Manage.
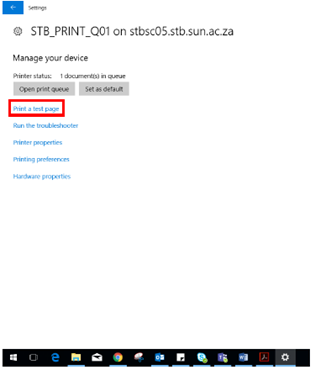
- Click on “Print a test page”.
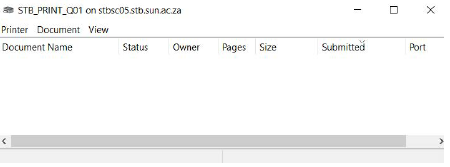
- To see if your test page is in the queue, click on Open print queue
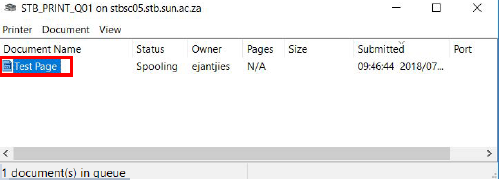
- Your Test Page should now reflect in the print queue.
- Please DO NOT MAKE any other changes here, only change account name to your student number/alias.